
As part of my New Year’s goals, I have been wanting to learn the reverse French technique for acrylic nails. It’s so much more effective in my opinion for several reasons:
Why the reverse French Method is amazing!
1. The quicker you apply pink to the nail bed after prepping the less lifting will occur.
2. You can create an extreme smile line with ease by tucking the pink down as far as you like on the sides.
3. When you apply the free edge color it doesn’t have to be perfect–you can file to achieve the perfect smile line.
4. It’s perfect for nail biters. If you use a cover pink their nail beds will grow out and you are able to achieve the perfect smile line using forms much easier than trying to glue on tips.
I felt confident I could do it but I was nervous to attempt it my first time so I enlisted the help of my awesome friend Kendra. Kendra is a nail biter and is the perfect candidate for this technique. I used Young Nails Cover Peach Acrylic and as you can see from the finished product her nails turned out gorgeous.
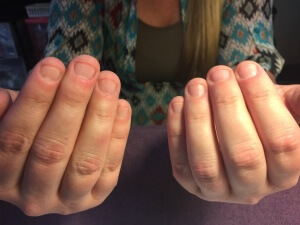
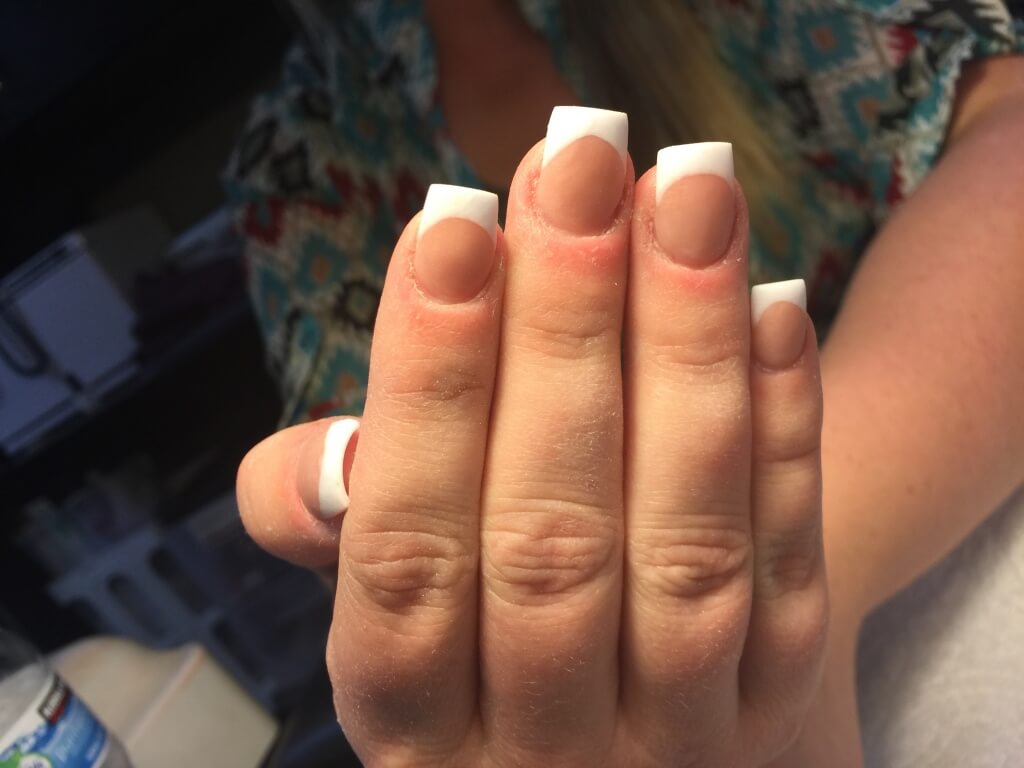
Starting out…Kendra is also a new mom, works full time, and is an amazing cowgirl! Her hands take a BEATING!
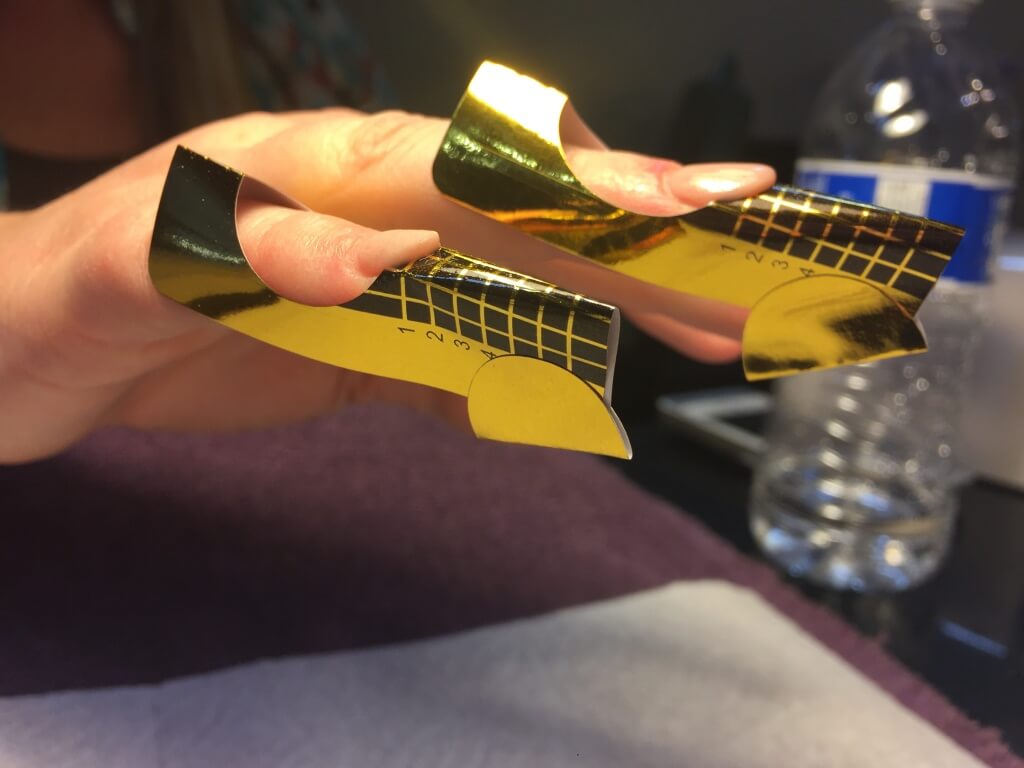
Here you can see where I applied the Young Nails Cover Peach Acrylic to create the reverse French. Also, I hate these forms but refuse to buy new ones till I use up this roll so I figured out if you put the center sticker on the bottom to hold them in place they actually work really well!
Here’s a picture after I finished filing. I wish I would have taken one before I filed because one of the great things about the reverse method is your white acrylic doesn’t have to be perfect. Once you e-file the shape magically, perfectly appears! 🙂
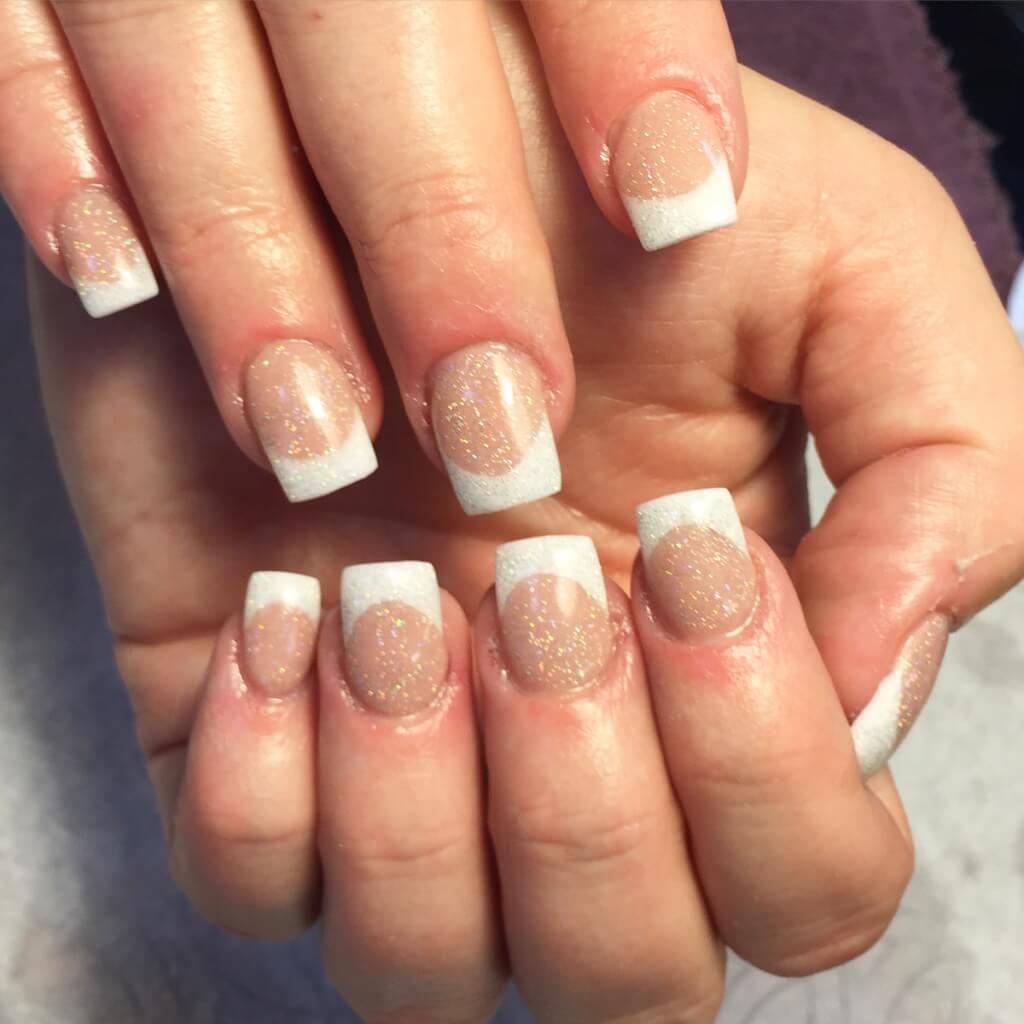
And here’s the finished product! I did a coat of Gelish Vegas Nights to add some sparkle…and cover up a few flaws lol. I hope they hold up really well!
I’m still working on using less liquid on my brush when using acrylic. I have a really hard time getting the perfect amount of liquid…my powder runs way too much taking too much precious time. But I love this technique and can’t wait to do it again! I keep agonizing about buying an acrylic cutter tool which basically does the work for you. But my supply budget is currently maxed out so I think I will just have to keep working the reverse method.
Next up I want to learn all the secrets of The Nail Boss!
Thanks for reading and let me know if you have any questions or would like to share your secrets and tips!
Tootles–Anna