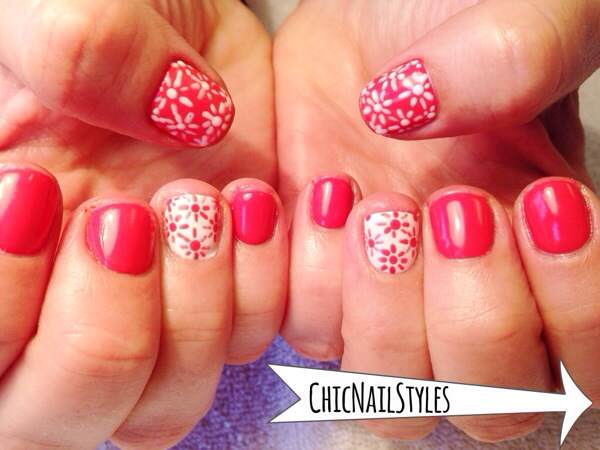
I saw this idea on BioSculpture’s Facebook page and loved it! Luckily, my friend Tennille was game with letting me try it out on her yesterday!
We used OPI GelColor Live.Love.Caranaval which is so fabulous! It’s not quite as bright and fluorescent looking in real life. Kind of in between Cajun Shrimp and My Chihuahua Bites. I absolutely LOVE it though! It applies perfectly too–I did three coats on Tennille which is what I usually do with all my gel polishes so I was totally happy with the results.
Spring Floral Pattern
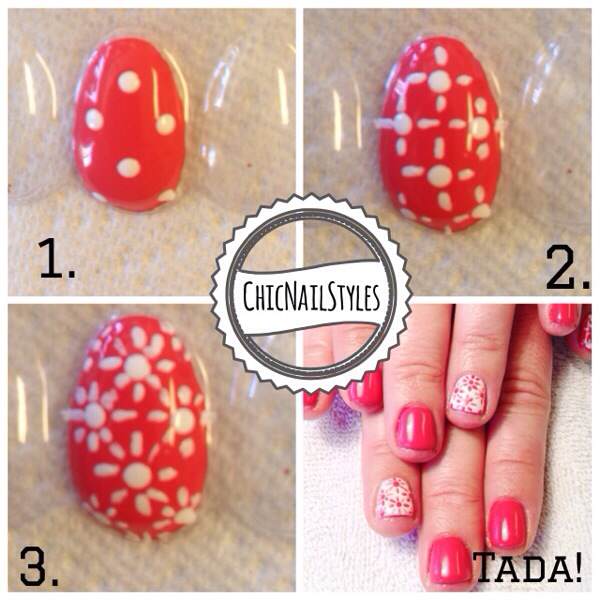
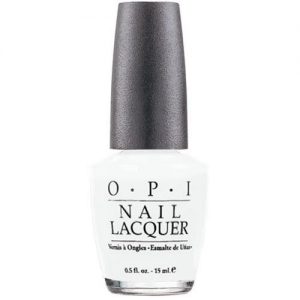
For the tutorial I used the OPI Live.Love.Carnaval and Alpine Snow polish lacquer’s and included links to buy them below. You just need a stylus dotting tool, small to medium sized, and a thin nail art brush. Make small, light strokes so you don’t get “gobs” of the polish on the petals. Depending on the length of the nail you might need to add a few flowers or remove a few.

This looks cute with just about any color scheme but I really like the monochromatic theme with just the two colors 🙂
You are basically just doing a grid pattern with the flowers. A lot of designs can be easier to do if you think about dividing the nail bed into a grid or using “the rule of thirds” like they do in photography. My husband actually uses grids for web design. It’s a common practice with artwork and nail art is no different. Some patterns are definitely more random than others but if there is slight uniformity to the design it is more pleasing to the human eye.
Anyway, if you have any questions about this design or any others let me know! I love hearing from my readers!
Thanks for reading! XOXO!
Tootles–Anna


Pingback: Top 101 Most Creative Spring Nail Art Tutorials and Designs - DIY & Crafts
Pingback: 25 Spring Nail Art Tutorials
Pingback: Recent Trendz
Pingback: Beautiful Nail Art Ideas for Summer | Celeb Teen Laundry