Sculpted Acrylic Nails
I began forming Katie’s nail beds out with a short coffin shaped sculpted acrylic nail with Creative Nail Design Retention Acrylic. I need to get better at applying my forms and working with a dryer bead…but I love sculpting more so than using tips these days. Tips take so long to glue on and then you have to go back and file and shape and it’s just so messy and takes so much longer than simply attaching a form and applying the acrylic right away! It takes me a little bit longer than it should because I like working with a really wet bead so my beads tend to run a little bit too much and then I have to keep pushing the tips into place while it’s drying. I need to perfect working with a dry bead on the tip and then a wetter bead around the cuticle area.
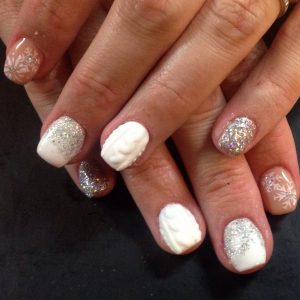
Short and sweet coffin shaped nails with Christmas nail art!
3D Sweater Nail Art
Start with a white gel base
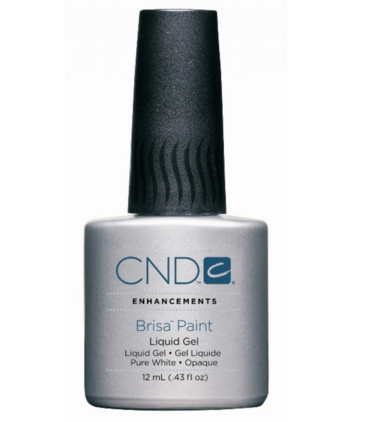
For the sweater nail art, I used CND Brisa Painting Gel in white which is an awesome product!
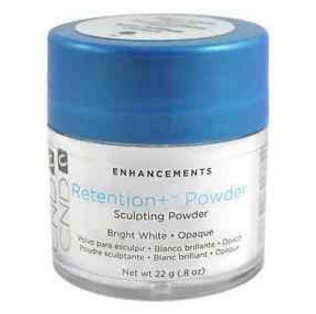
I did two thin coats of the white gel over the acrylic overlay, curing for two minutes in a UV light each time. The second coat I sprinkled a thin layer of CND White Acrylic over the wet gel before curing. Make sure to wipe any off the cuticle area with an orange wood stick.
Mix your 3D sculpting gel
Next take a really small amount of the white gel, about the size of the end of a pencil eraser, and put it on a mixing tile. Take a small scoop of the acrylic powder in the end of a cuticle pusher and pour it on top of the gel. Now mix it together with an orange wood stick until the gel is semi-solid. You don’t want it too thick but you want it thick enough you can mold it into shape. If you make it too thick just add a little bit more gel.
Create your 3D sweater design
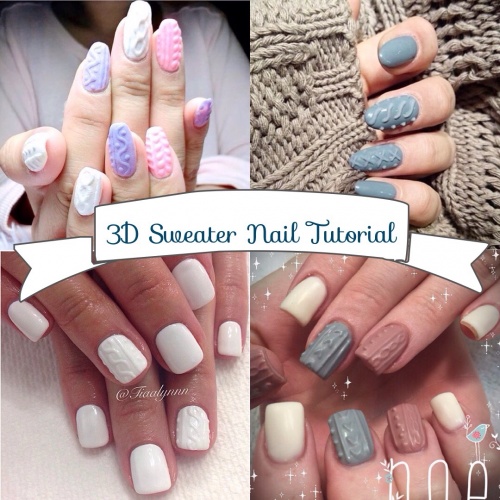
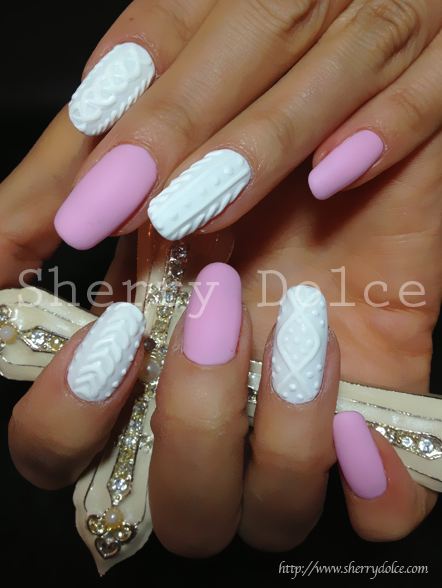
Now take a small dotting tool or thin nail art brush and create your sweater pattern. If the gel is running too much you might need to flash cure in between designs. Here’s a picture from Sherry Dolce that has multiple designs to give you some inpso!
After you have your design in place cure 2 minutes in a UV lamp. Wipe the sticky inhibition layer off with 99% alcohol. I didn’t do a top coat because I wanted a matte effect but you could do a top coat. Just do a very thin one so that it doesn’t pool in the 3D design.
And that’s how I created my 3D Sweater Nail Design for my cute friend Katie! I know people do it lots of different ways but this was super easy for me! I’m going to finish my nails sometimes this week with a sweater accent nail and I can’t wait to show you! If you have any questions let me know I’ll be happy to help you!
Thanks for reading!
Tootles–Anna


Pingback: Amazing 3d nail art utah Gallery 2017 - Latest Nail Design - Nail Design Trends