
With all the crazy nail art ideas out there these days I don’t get a lot of chances to do a French manicure anymore. It’s still one of my favorite looks though. It’s just so classic and simple and it goes with every outfit. And the regrowth is wonderful…you can usually go quite a while with a French mani before it starts to be noticeable around the cuticle growth area. AND there are a lot of variations on the French mani if you are craving a little excitement. 🙂
Here are a couple “Frenchies” I’ve done in the last few weeks…
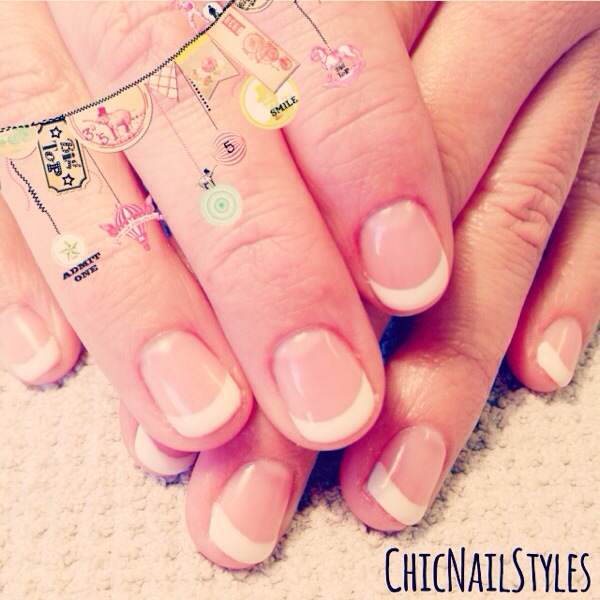
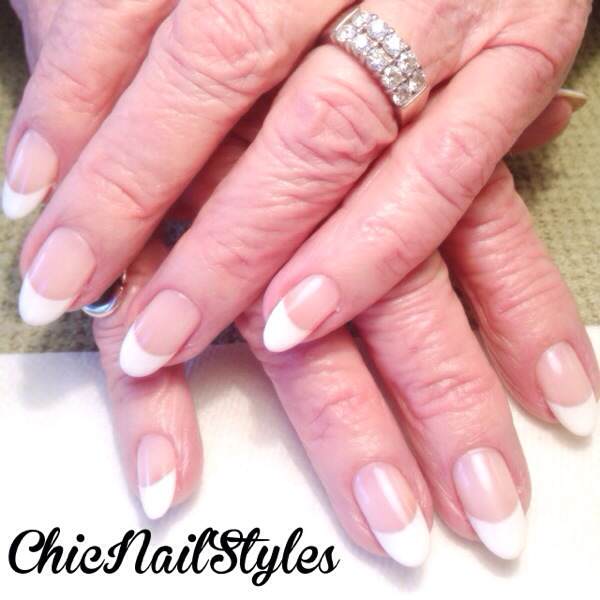
Nicole’s French Mani–they are going to the Caribbean this week! I’m so jealous 🙂
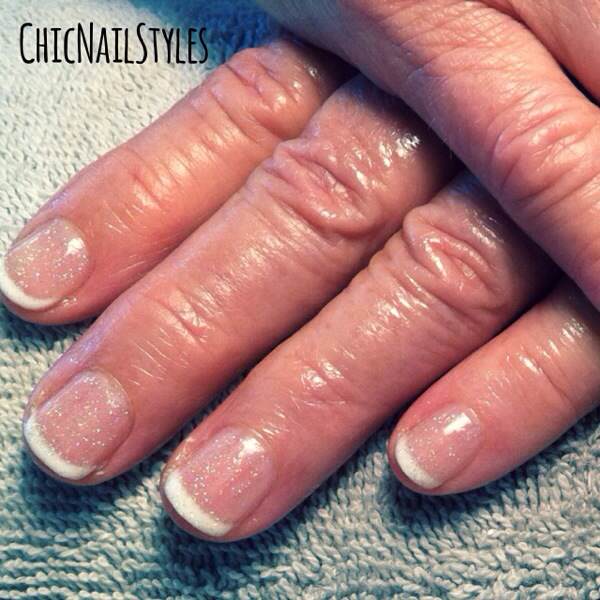
Kristy’s cute French mani–she is a busy working mom with two little adorable boys. A French manicure is a good choice because it’s low maintenance.
How I Do A French Manicure
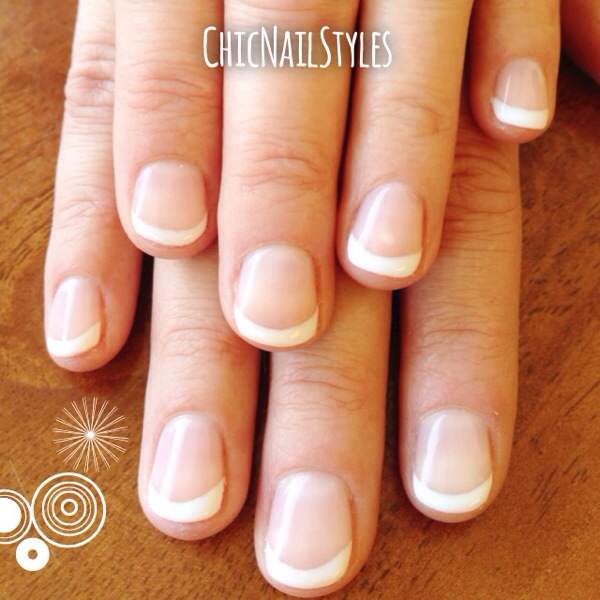
I used Brisa Lite Smoothing Gel with both of these as the base to give added strength. I then applied two coats of Shellac Beau over the Brisa Lite and then applied the white tip with a stylus (thank you Holly Sullivan for teaching me this method!) and OPI GelColor Alpine Snow. I draw on my “smile line” with a very fine tip stylus and if the nails are short I will fill in the entire French tip with the stylus. If they are longer, like Dena’s below, I will draw the smile line on with the stylus, wipe the Alpine Snow brush fairly dry, and paint the tip on with the brush.
These are Dena’s beautiful natural nails with a gel polish French manicure. Her nails are seriously perfect!
I do one finger at a time, having my clients put each hand in the UV light in between each finger application. If I don’t get the smile line as crisp as I like, I use a dry gel brush to clean up the imperfections. I always do two OPI GelColor top coats to finish it off.
Variations on the French Manicure
I love using OPI GelColor Bubble Bath or Passion for the pink base, which gives it more of an “American Manicure” effect or you can even just leave the nail bed clear with the white tip, which a lot of people prefer. It also looks pretty to do a subtle glittery top coat such as Shellac VIP Silver Status or Gelish Vegas Nights or Izzy Wizzy Let’s Get Busy.
This is Gelish Artic Freeze with Vegas Nights on my mom’s cute hands 🙂
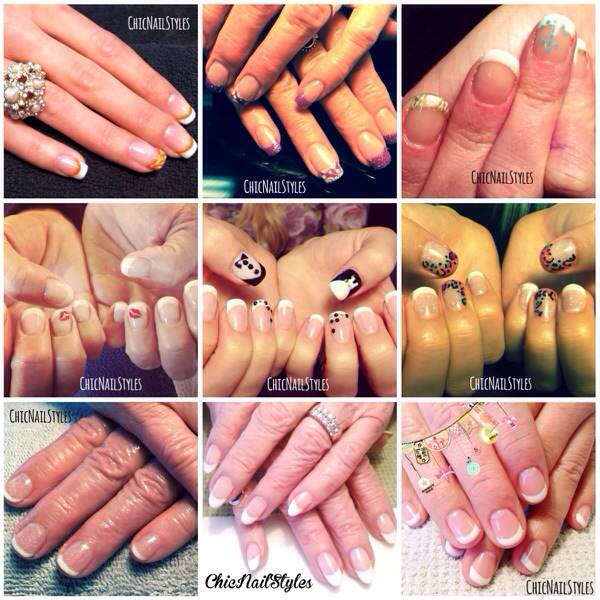
If you want to really get wild and shake it up a bit, do different colors for the French tip instead of white. 🙂 Here are a few pics of my favorite variations I’ve done in the past…

Here’s a Galaxy nails French mani–I love how these turned out. I used Gelish Jet Set for the tips.
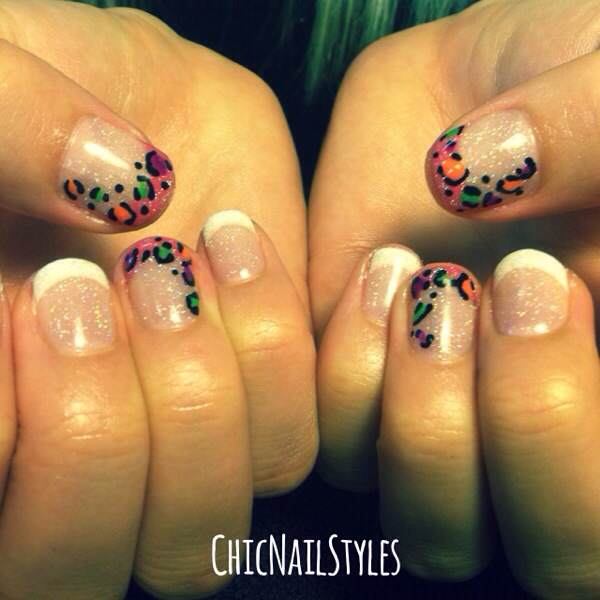
We did the thumb and ring a pink french and then added the neon leopard spots on this French twist 🙂
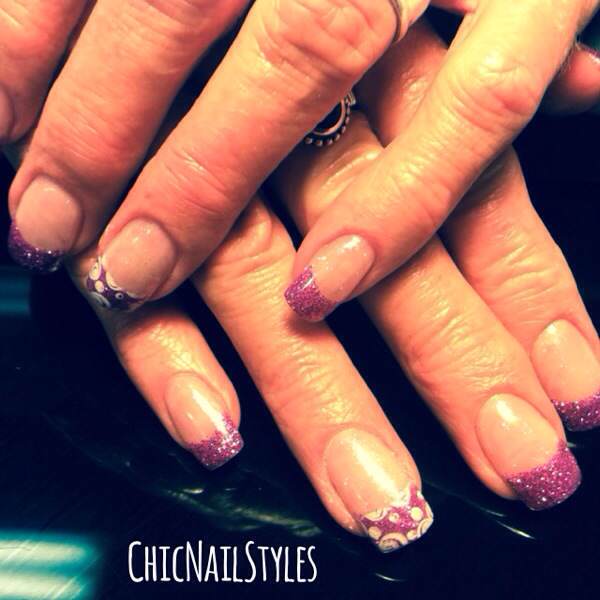
For this look I mixed purple glitter with clear gel polish top coat and applied the tips with my gel brush. I then stamped the circle pattern on the ring finger and cleaned it up around the smile line with acetone and a gel brush.
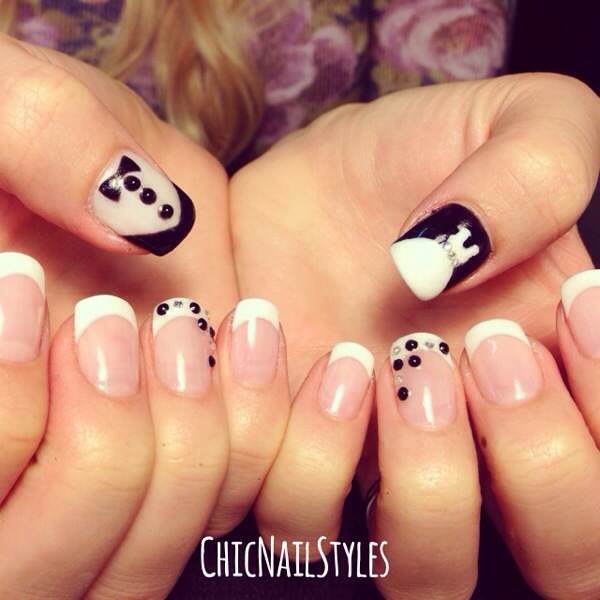
These wedding nails are fun! I added the gems on the ring fingers and then the thumbs have the bride and groom motif. Cute!
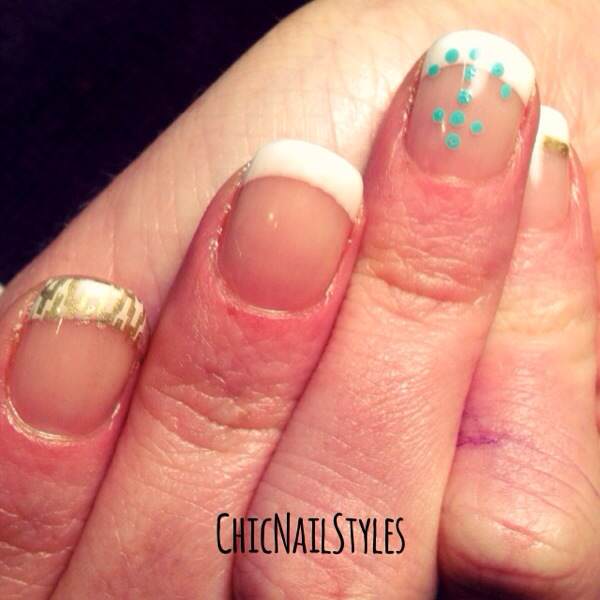
This is kind of hard to see but I dotted on a turquoise anchor on the ring finger and then stamped on a gold pattern on the index finger. I love how these turned out I just wish I had taken a better picture!
Additional Tips
Also, if you want a very natural look, Shellac Studio White or Gelish Sheek White aren’t as bright as OPI Alpine Snow, Gelish Arctic Freeze or Shellac Cream Puff and they just give the tips more of a natural looking effect.
Products I Love
Let me know if you have any questions! I hope you have a great weekend and thanks for all your support!XOXO!
Tootles–Anna